前回は、システムの日本語化を行った。
今回は、Webサーバの構築を行う。
インストール
有名どころでApacheかNginxを迷うが、今回はNginxを選択。
まず、インストール。
$ sudo dnf -y install nginx
 :
Installed:
  almalinux-logos-httpd-90.5.1-1.1.el9.noarch                nginx-2:1.20.1-20.el9.alma.1.x86_64             nginx-core-2:1.20.1-20.el9.alma.1.x86_64
  nginx-filesystem-2:1.20.1-20.el9.alma.1.noarch

Complete!
ひとまず、設定ファイルのサーバー名(server_name)のみを変更。
$ sudo vi /etc/nginx/nginx.conf
 :
   server {
        listen       80;
        listen       [::]:80;
        server_name  hostname.your.domain;
        root         /usr/share/nginx/html;

        # Load configuration files for the default server block.
        include /etc/nginx/default.d/*.conf;

        error_page 404 /404.html;
        location = /404.html {
        }

        error_page 500 502 503 504 /50x.html;
        location = /50x.html {
        }
    }
サービスを起動。
$ sudo systemctl enable --now nginx
Created symlink /etc/systemd/system/multi-user.target.wants/nginx.service → /usr/lib/systemd/system/nginx.service.
XServer VPSのパケットフィルター設定変更
XServer VPSのVPSパネルの「パケットフィルター設定」を開いて、

フィルター「Web」を追加して、Webサーバ用のポートを追加する。

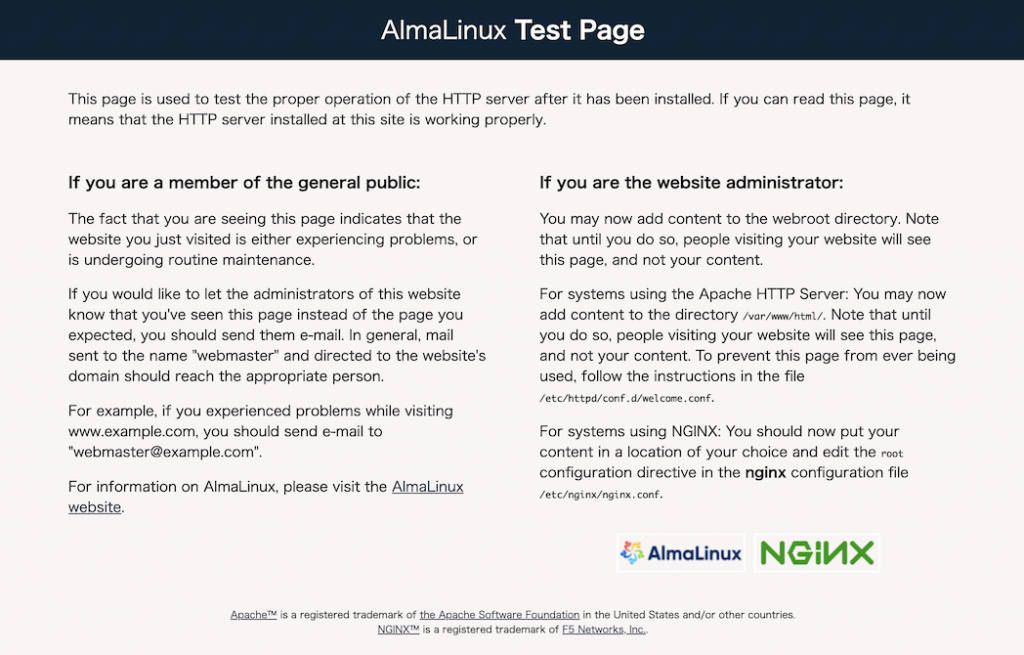
この時点で、インターネット上から接続可能な状態になっているため、サーバーのIPで表示可能。

表示しているindex.htmlは、次の場所にあるが、シンボリックリンクのため、実際の場所は異なる。
/usr/share/nginx/html/index.html -> ../../testpage/index.html
次回は、Webサーバのディレクトリ構成を変更する。
お友達紹介プログラムを利用して契約すると10%OFFになるそうなので、
もしよろしければ次の画像をクリックしてみてください。

投稿一覧はこちら→「VPSでAlmaLinux」
コメントを残す