前回は、Webminのインストールを行った。
さて、今回は、データベースサーバーであるMySQLをインストールする。
と言っても、実際はMariaDBという、MySQLから引き継がれたデータベースサーバーをインストールしたい。
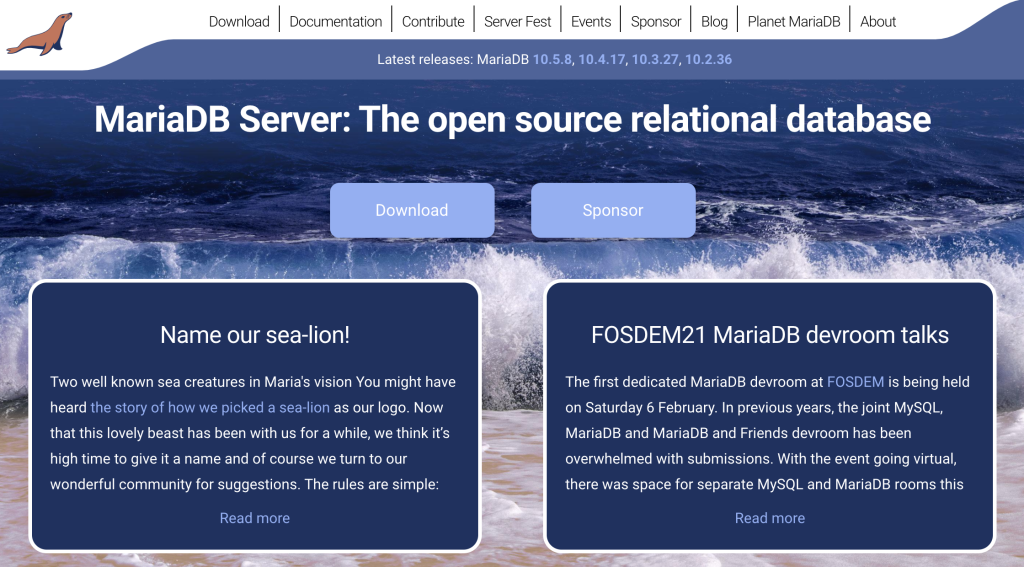
まずは、公式サイトに行ってみる。

「Download」を、おもむろにクリックし、

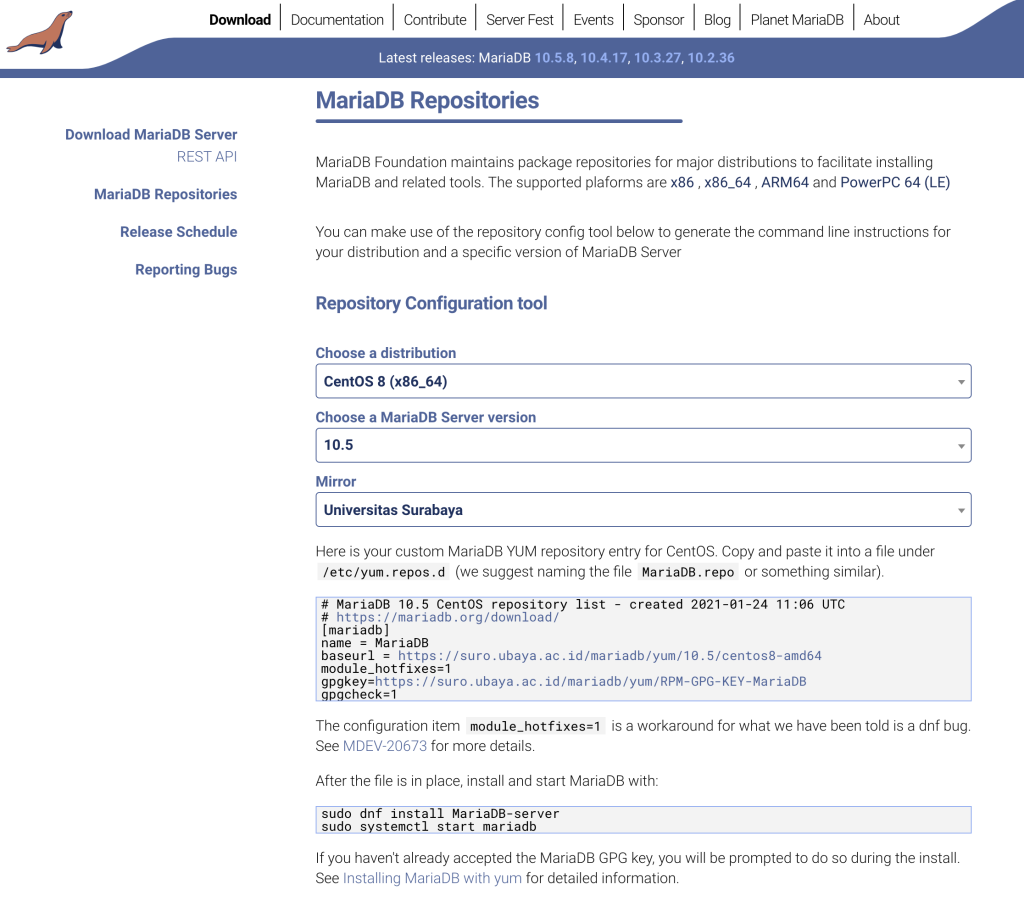
「MariaDB Repositories」内の選択肢を、それぞれ次のように選択していく。
- Choose a distribution「CentOS 8 (x86_64)」
- Choose a MariaDB Server version「10.5」
- Mirror(これは適当)
すると、何をすべきかが表示されるので、
まずは、レポジトリの設定ファイルを追加する。
# vi /etc/yum.repos.d/MariaDB.repo
中身は、サイトに表示されたものをコピペすれば良い。
# MariaDB 10.5 CentOS repository list - created 2021-01-24 11:20 UTC
# https://mariadb.org/download/
[mariadb]
name = MariaDB
baseurl = https://mirrors.piconets.webwerks.in/mariadb-mirror/yum/10.5/centos8-amd64
module_hotfixes=1
gpgkey=https://mirrors.piconets.webwerks.in/mariadb-mirror/yum/RPM-GPG-KEY-MariaDB
gpgcheck=1
そして、またまた記載されているコマンドを実行する。
(自動起動するようにちょっと変えてます。)
# dnf install MariaDB-server
# systemctl enable --now mariadb.service
これでサーバーは起動した。自動起動もする。
では、バージョンの確認。
$ mysql --version
mysql  Ver 15.1 Distrib 10.5.8-MariaDB, for Linux (x86_64) using readline 5.1
それでは、セキュリティを高めるためのスクリプトを実行する。
# mysql_secure_installation

NOTE: RUNNING ALL PARTS OF THIS SCRIPT IS RECOMMENDED FOR ALL MariaDB
      SERVERS IN PRODUCTION USE!  PLEASE READ EACH STEP CAREFULLY!

In order to log into MariaDB to secure it, we'll need the current
password for the root user. If you've just installed MariaDB, and
haven't set the root password yet, you should just press enter here.

Enter current password for root (enter for none): [Enter]←インストール直後なので、MySQLのrootのパスワードはない。
OK, successfully used password, moving on...

Setting the root password or using the unix_socket ensures that nobody
can log into the MariaDB root user without the proper authorisation.

You already have your root account protected, so you can safely answer 'n'.

Switch to unix_socket authentication [Y/n] [Enter]←Unixのユーザ認証と統合させる。
Enabled successfully!
Reloading privilege tables..
 ... Success!


You already have your root account protected, so you can safely answer 'n'.←Unixのルートアカウントはセキュアだから、MysSQLのrootにパスワードは不要。安心して[n]を選べる。

Change the root password? [Y/n] n[Enter]←だから、n
 ... skipping.

By default, a MariaDB installation has an anonymous user, allowing anyone
to log into MariaDB without having to have a user account created for
them.  This is intended only for testing, and to make the installation
go a bit smoother.  You should remove them before moving into a
production environment.

Remove anonymous users? [Y/n] [Enter]←匿名ユーザ削除
 ... Success!

Normally, root should only be allowed to connect from 'localhost'.  This
ensures that someone cannot guess at the root password from the network.

Disallow root login remotely? [Y/n] [Enter]←リモートからのrootユーザのログインを無効化
 ... Success!

By default, MariaDB comes with a database named 'test' that anyone can
access.  This is also intended only for testing, and should be removed
before moving into a production environment.

Remove test database and access to it? [Y/n] [Enter]←テスト用データベースと権限を削除
 - Dropping test database...
 ... Success!
 - Removing privileges on test database...
 ... Success!

Reloading the privilege tables will ensure that all changes made so far
will take effect immediately.

Reload privilege tables now? [Y/n] [Enter]←変更の反映
 ... Success!

Cleaning up...

All done!  If you've completed all of the above steps, your MariaDB
installation should now be secure.

Thanks for using MariaDB!
以上で、セキュアになった。
次に、文字コードを4バイトのUTF-8、つまりutf8mb4に変更したい。
ヘルプによると、「utf8 という名前の文字セットは、文字あたり最大 3 バイトを使用し、BMP 文字だけを含みます。utf8mb4 文字セットは、文字ごとに最大 4 バイトを使用し、補助文字をサポートします。」とのことで、補助文字を使えるようにするには、utf8mb4にする必要があると。
まず、現状の文字コードを参照してみる。
# mysql
Welcome to the MariaDB monitor.  Commands end with ; or \g.
Your MariaDB connection id is 33
Server version: 10.5.8-MariaDB MariaDB Server

Copyright (c) 2000, 2018, Oracle, MariaDB Corporation Ab and others.

Type 'help;' or '\h' for help. Type '\c' to clear the current input statement.

MariaDB [(none)]> show variables like "character%";
+--------------------------+----------------------------+
| Variable_name            | Value                      |
+--------------------------+----------------------------+
| character_set_client     | utf8                       |
| character_set_connection | utf8                       |
| character_set_database   | latin1                     |
| character_set_filesystem | binary                     |
| character_set_results    | utf8                       |
| character_set_server     | latin1                     |
| character_set_system     | utf8                       |
| character_sets_dir       | /usr/share/mysql/charsets/ |
+--------------------------+----------------------------+
8 rows in set (0.003 sec)

MariaDB [(none)]> show variables like "collation%";
+----------------------+-------------------+
| Variable_name        | Value             |
+----------------------+-------------------+
| collation_connection | utf8_general_ci   |
| collation_database   | latin1_swedish_ci |
| collation_server     | latin1_swedish_ci |
+----------------------+-------------------+
3 rows in set (0.001 sec)

MariaDB [(none)]> quit
Bye
サーバーの設定ファイルを変更。
# vi /etc/my.cnf.d/server.cnf
[mysqld]
character-set-server = utf8mb4←追加
collation-server = utf8mb4_unicode_ci←追加
クライアント側の設定も変更。
# vi /etc/my.cnf.d/mysql-clients.cnf
[mysql]
default-character-set = utf8mb4←追加

[mysqldump]
default-character-set = utf8mb4←追加
MariaDBを再起動する。
# systemctl restart mariadb
変更後の文字コードを確認しよう。
# mysql
Welcome to the MariaDB monitor.  Commands end with ; or \g.
Your MariaDB connection id is 3
Server version: 10.5.8-MariaDB MariaDB Server

Copyright (c) 2000, 2018, Oracle, MariaDB Corporation Ab and others.

Type 'help;' or '\h' for help. Type '\c' to clear the current input statement.

MariaDB [(none)]> show variables like "character%";
+--------------------------+----------------------------+
| Variable_name            | Value                      |
+--------------------------+----------------------------+
| character_set_client     | utf8mb4                    |
| character_set_connection | utf8mb4                    |
| character_set_database   | utf8mb4                    |
| character_set_filesystem | binary                     |
| character_set_results    | utf8mb4                    |
| character_set_server     | utf8mb4                    |
| character_set_system     | utf8                       |
| character_sets_dir       | /usr/share/mysql/charsets/ |
+--------------------------+----------------------------+
8 rows in set (0.001 sec)

MariaDB [(none)]> show variables like "collation%";
+----------------------+--------------------+
| Variable_name        | Value              |
+----------------------+--------------------+
| collation_connection | utf8mb4_general_ci |
| collation_database   | utf8mb4_unicode_ci |
| collation_server     | utf8mb4_unicode_ci |
+----------------------+--------------------+
3 rows in set (0.001 sec)
以上で初期設定は完了!
次回は、GUIでデータベースを操作できるphpMyAdminをインストールしたい。
と思ったが、webmin入れたので必要ないよね。
では、PHPを入れようか。
コメントを残す