次のページから、最新のtarファイルのURLを調べる。
tar.gzファイルをダウンロードする。
$ wget https://wordpress.org/wordpress-5.0.3.tar.gz
解凍する。
$ tar -xzvf wordpress-5.0.3.tar.gz
Webサイトのルートにコピーする。
$ cp -r wordpress /var/www/
WordPressがファイル書き込みできるよう、パーミッションの変更。
$ sudo find /var/www/wordpress -type f -exec chmod 660 {} \;
$ sudo find /var/www/wordpress -type d -exec chmod 770 {} \;
$ sudo find /var/www/wordpress -type d -exec chmod g+s {} \;
MySQLが使えるとして、データベースを作成する。
$ mysql -u root -p
CREATE DATABASE wordpress;
CREATE USER wordpressuser@localhost;
SET PASSWORD FOR wordpressuser@localhost= PASSWORD(“password”);
GRANT ALL PRIVILEGES ON wordpress.* TO wordpressuser@localhost IDENTIFIED BY ‘password‘;
FLUSH PRIVILEGES;
exit
Webページを開いて設定する。
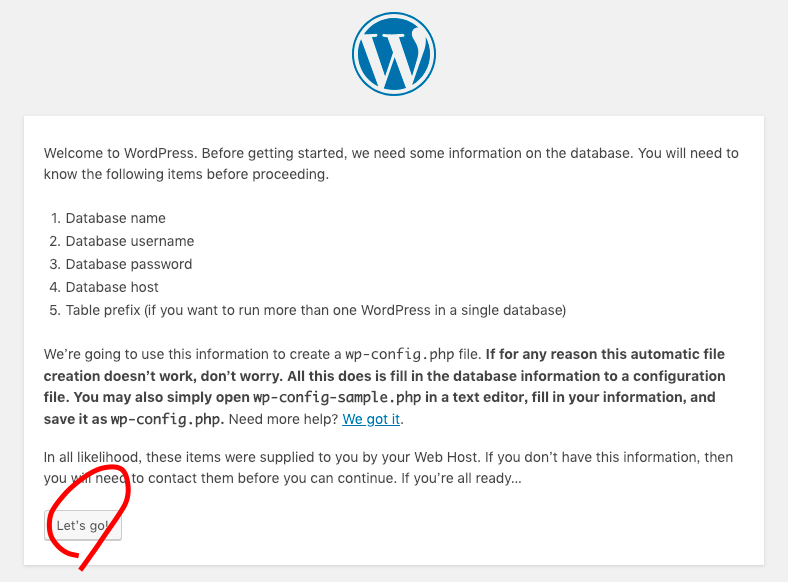
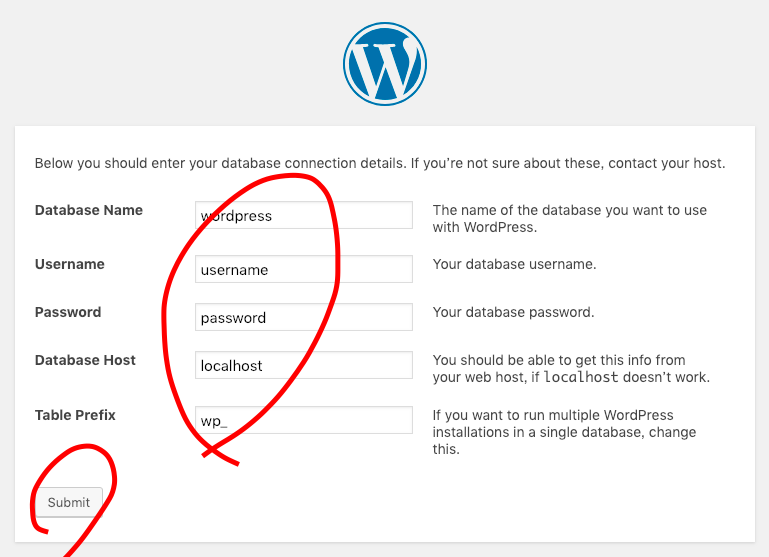
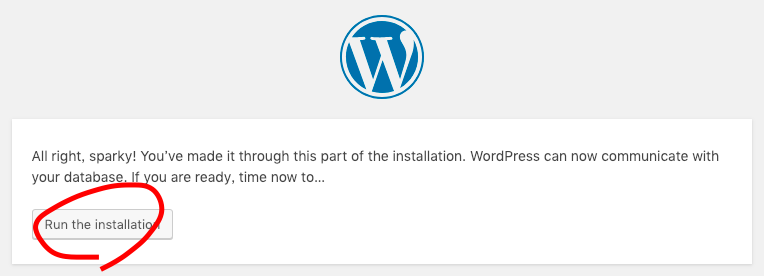
インストールはできたので、設定していく。
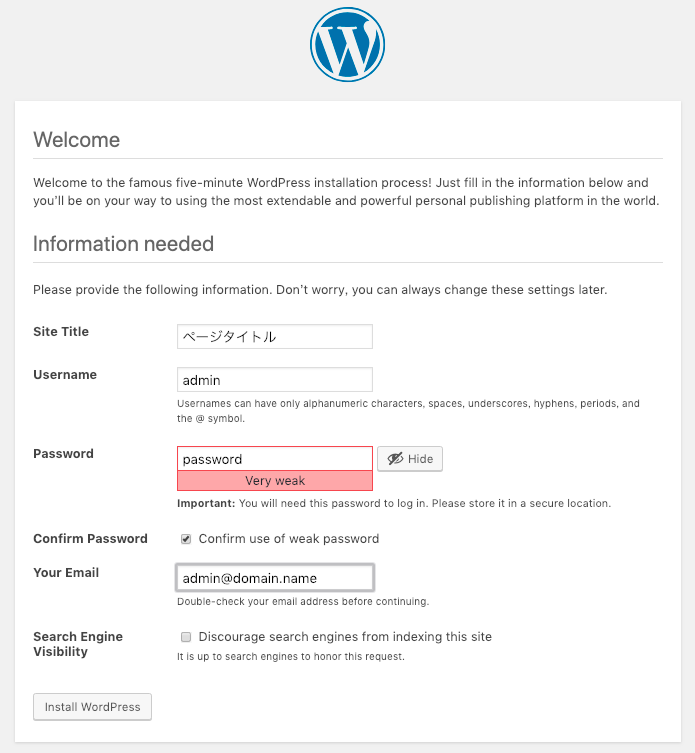
成功!
では、ログインしてみる。
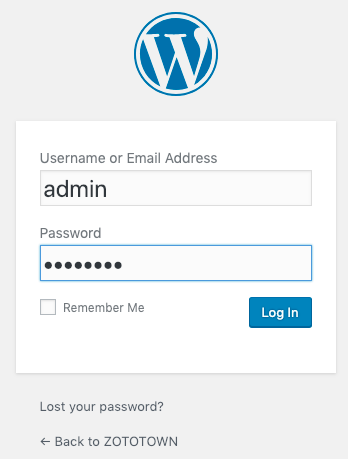
こんな管理画面が表示される。
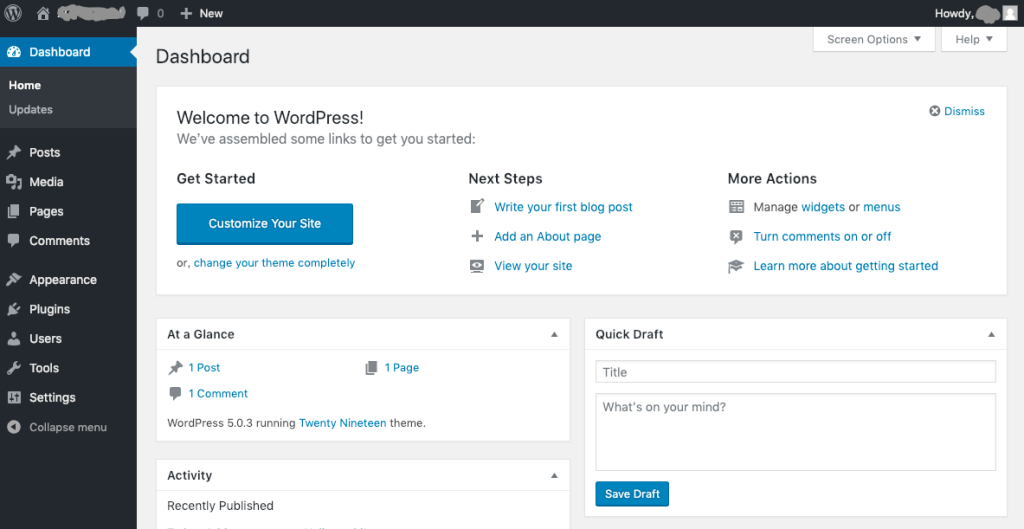
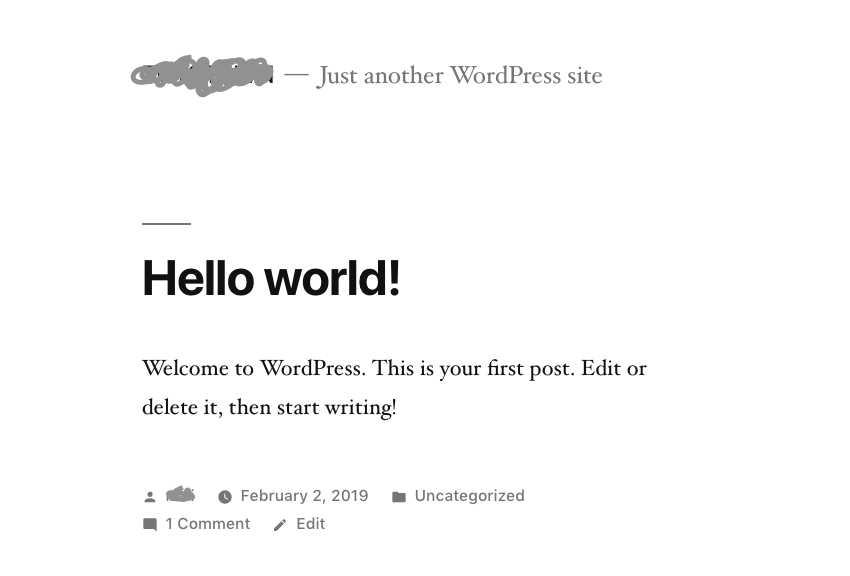
実際に表示されるページは、こんな感じ。
コメントを残す